It’s been a while since the last update on the project, but it’s now back on track heading towards the finish. I had found myself at a point of uncertainty in the next steps, I wasn’t sure if I wanted to add more surface greebling or modify something about the overall design - so I took a step back, let it sit on the shelf while working on other things and then when I revisited it I had clarity from having removed it from my focus for a few months.
Enhance Details
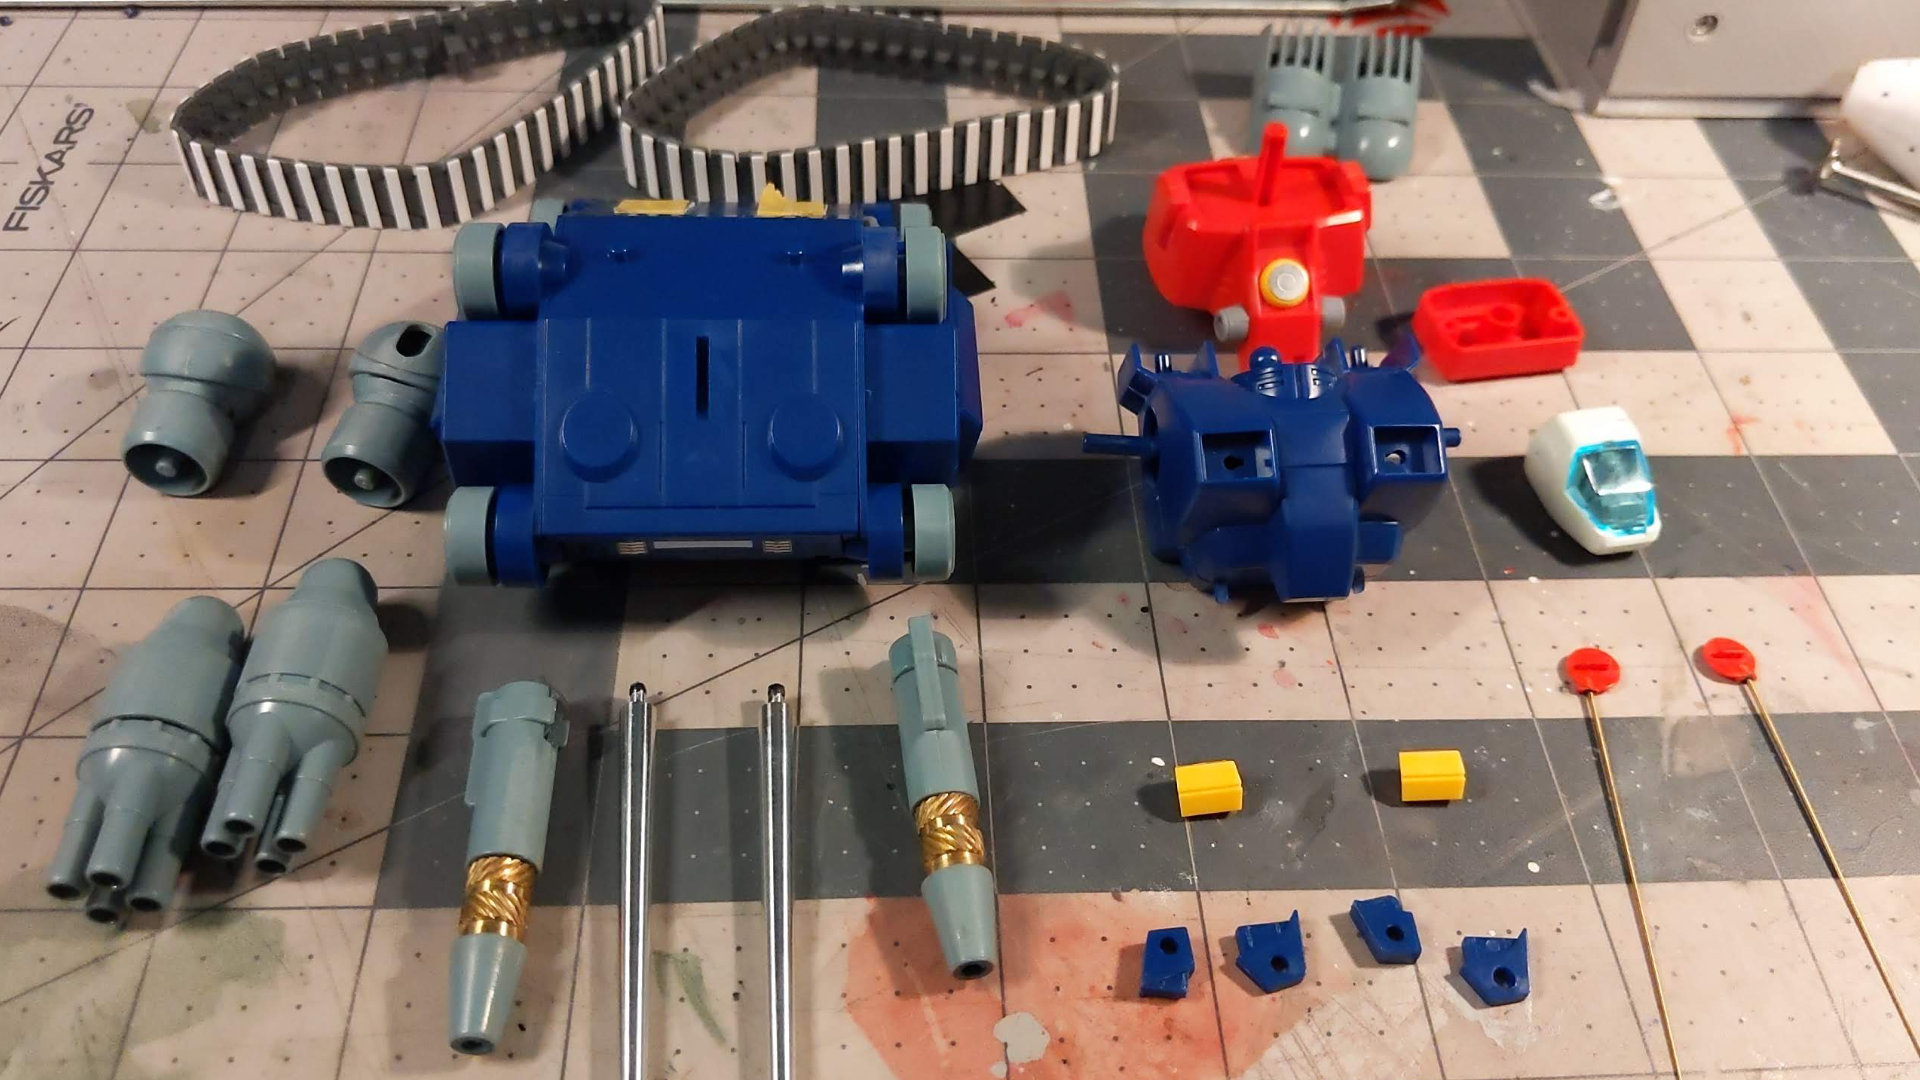
One of the first things I decided to do was enhance existing details. The model kit itself is not necessarily lacking in detail, but what was there could benefit from being rescribed.
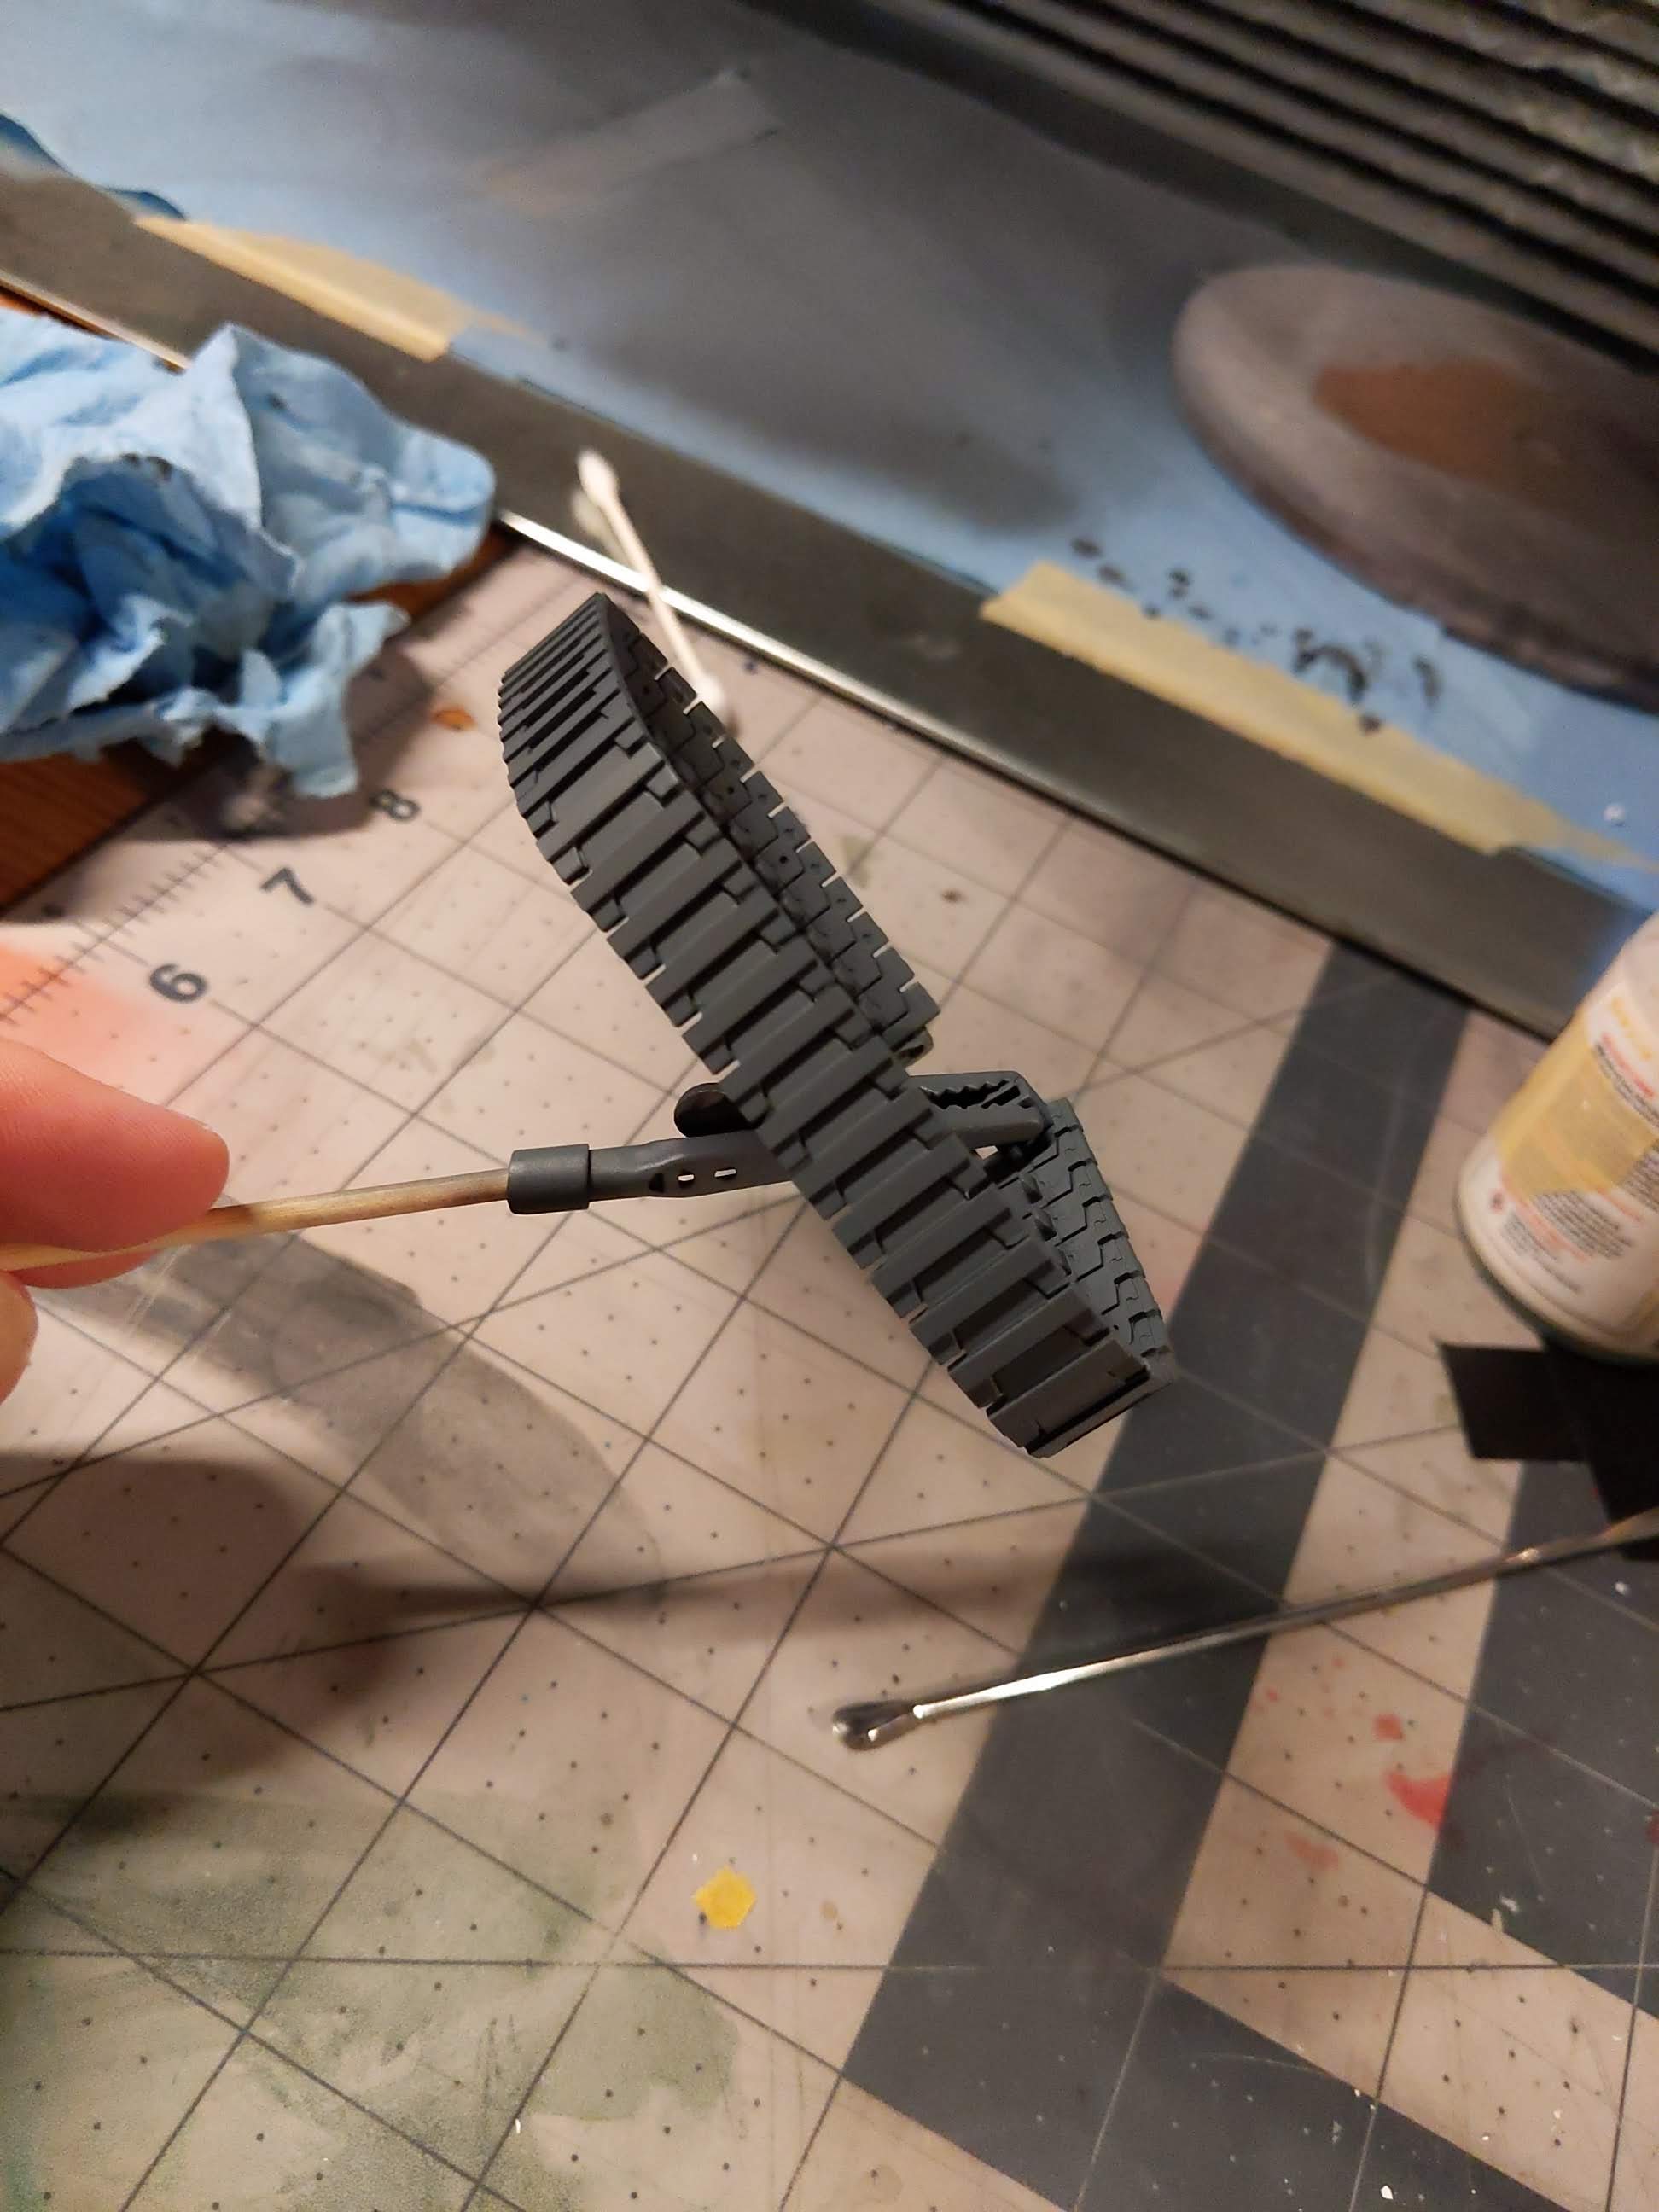
I utilized the GRIDA from Gunprimer, it’s a multi-directional chisel that works best when rescribing 0.15-0.2mm lines - or in my case, that edge of a part where you’d try to line it but it wasn’t deep enough for capillary action to work with panel liner.
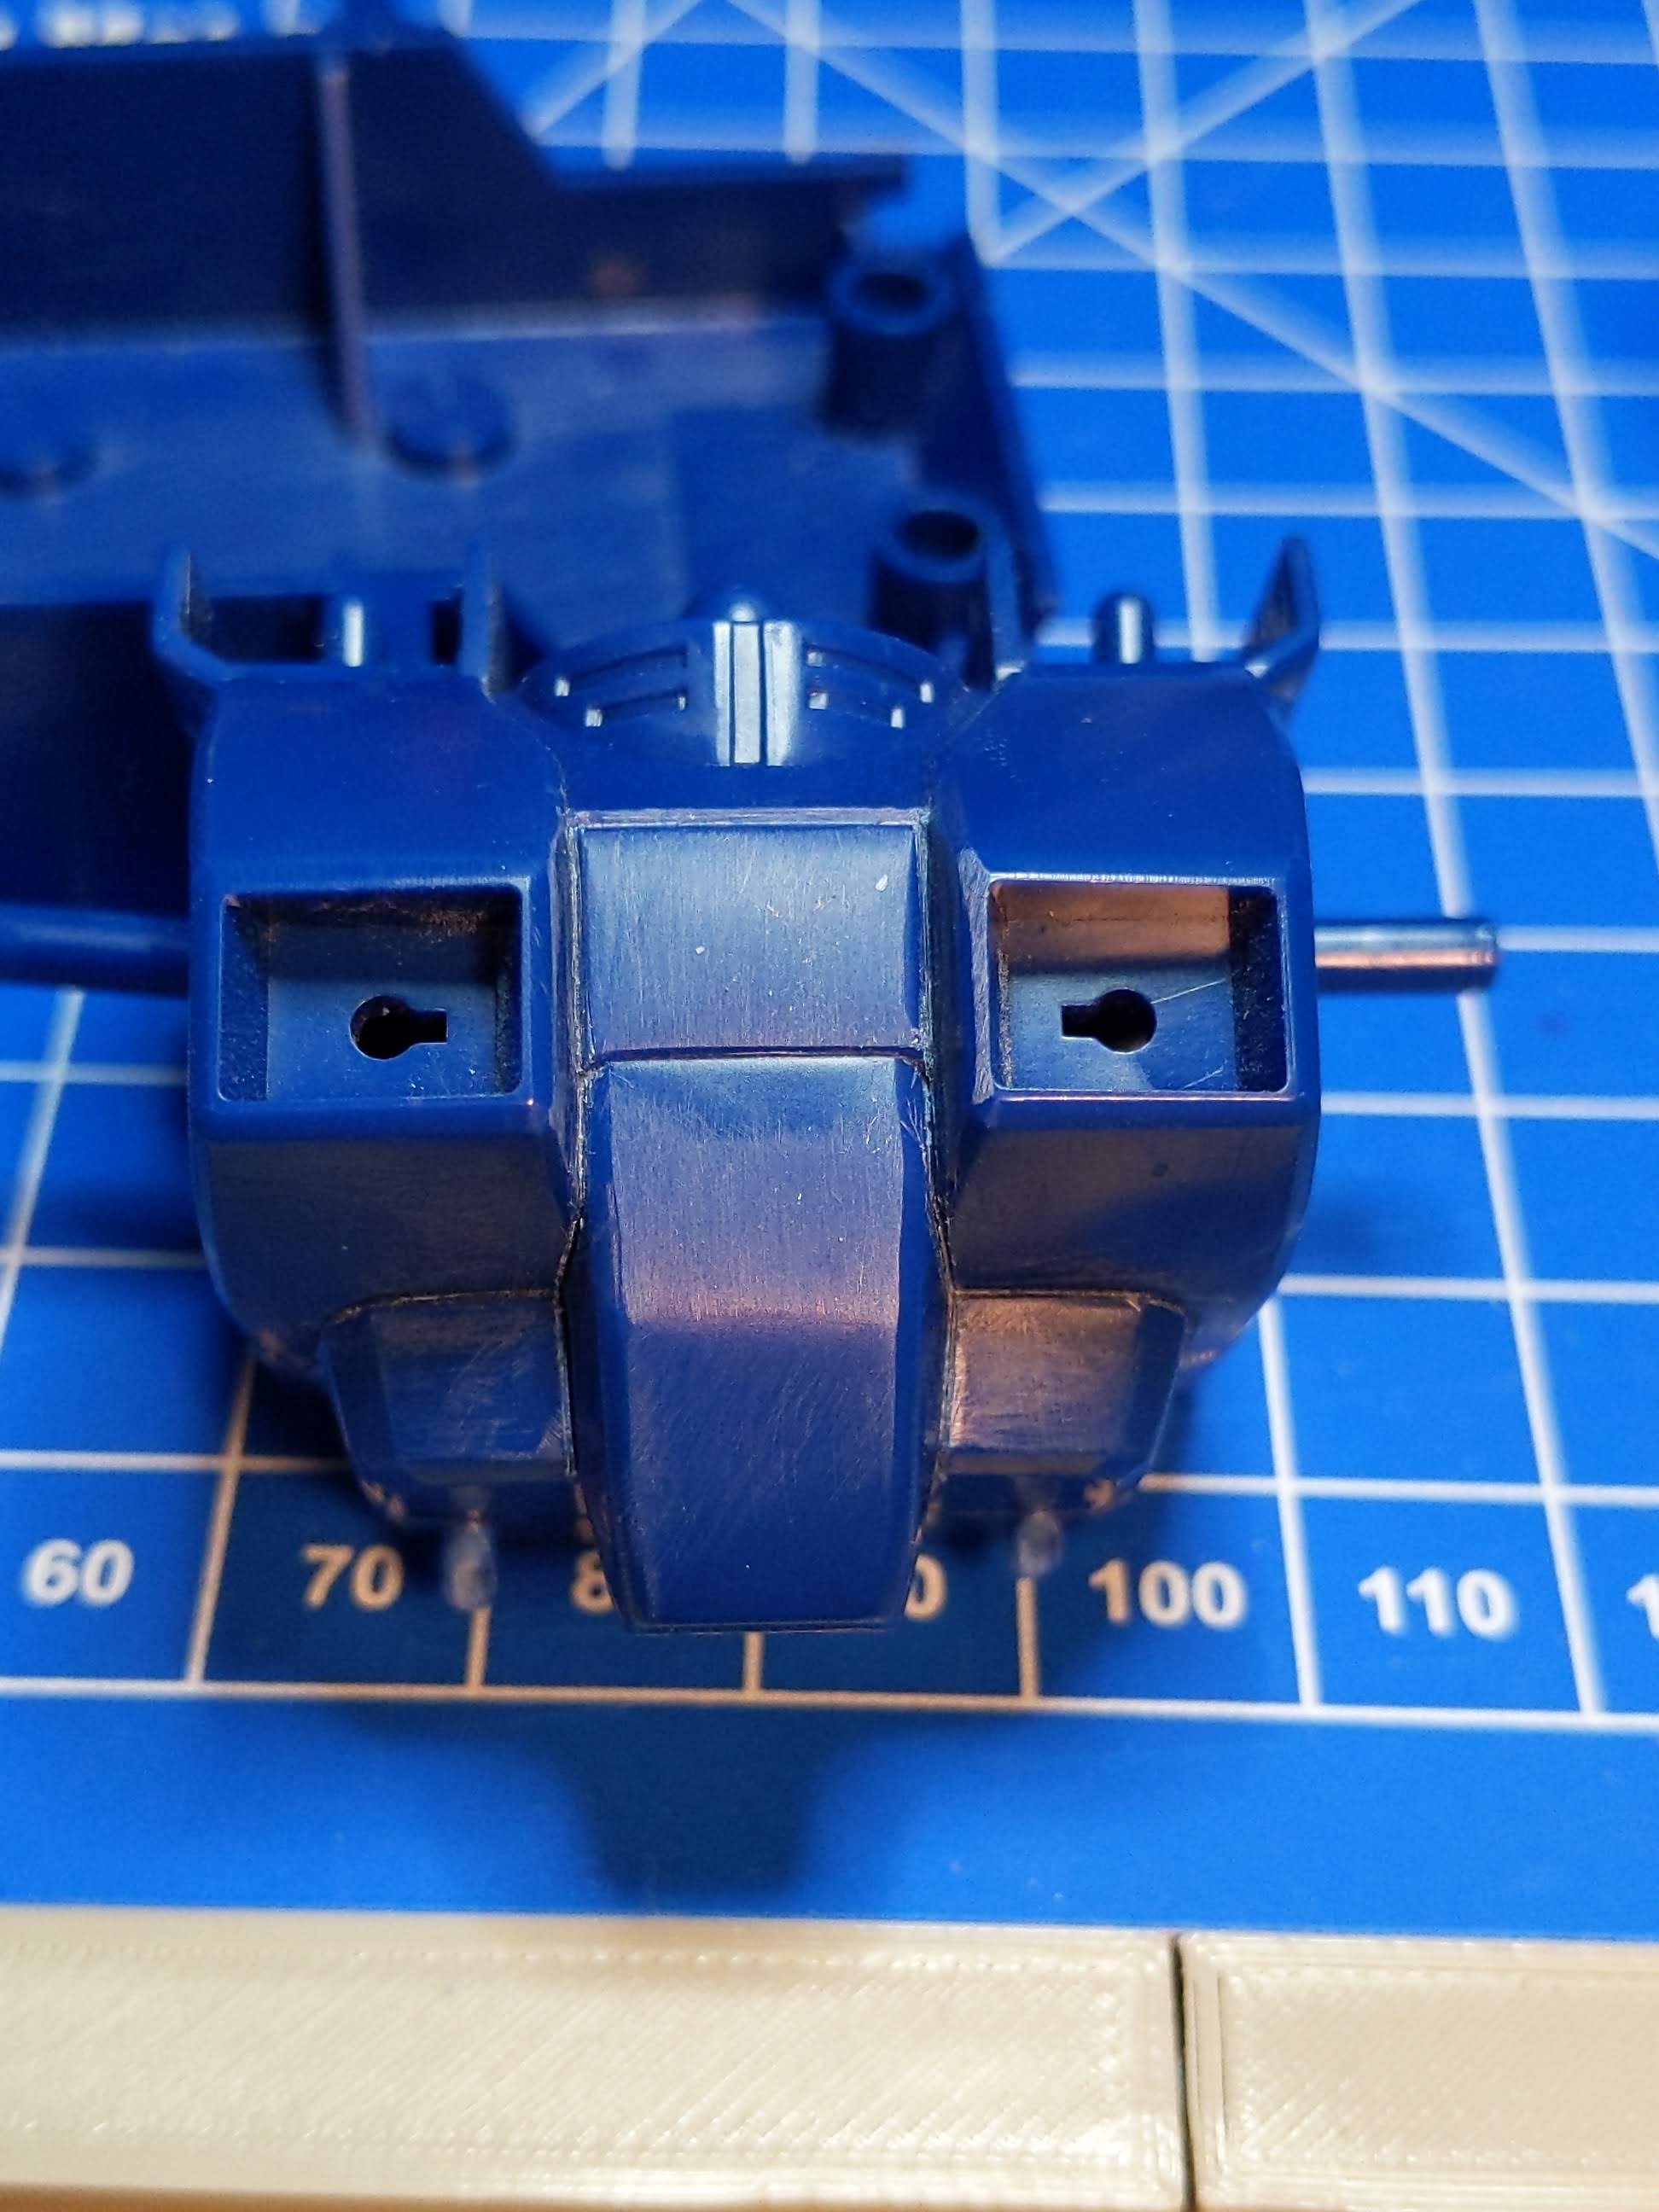
I went over about every surface I could, giving it more physical depth. On the front of the waist I didn’t like how it came out so I tried to fill it back in with super glue; we’ll see how that ended up after painting.
Scribing for me has not been a strong suit & I’ve always been jealous of builds with crisp panel lines, so I have been trying to get more comfortable by rescribing existing lines to make any detailing I do pop just a bit more.
For panel lining this time around, I plan to make use of the technique of clear colored enamels to get away from the black/brown/gray when lining on colors.
Color Planning & Prep
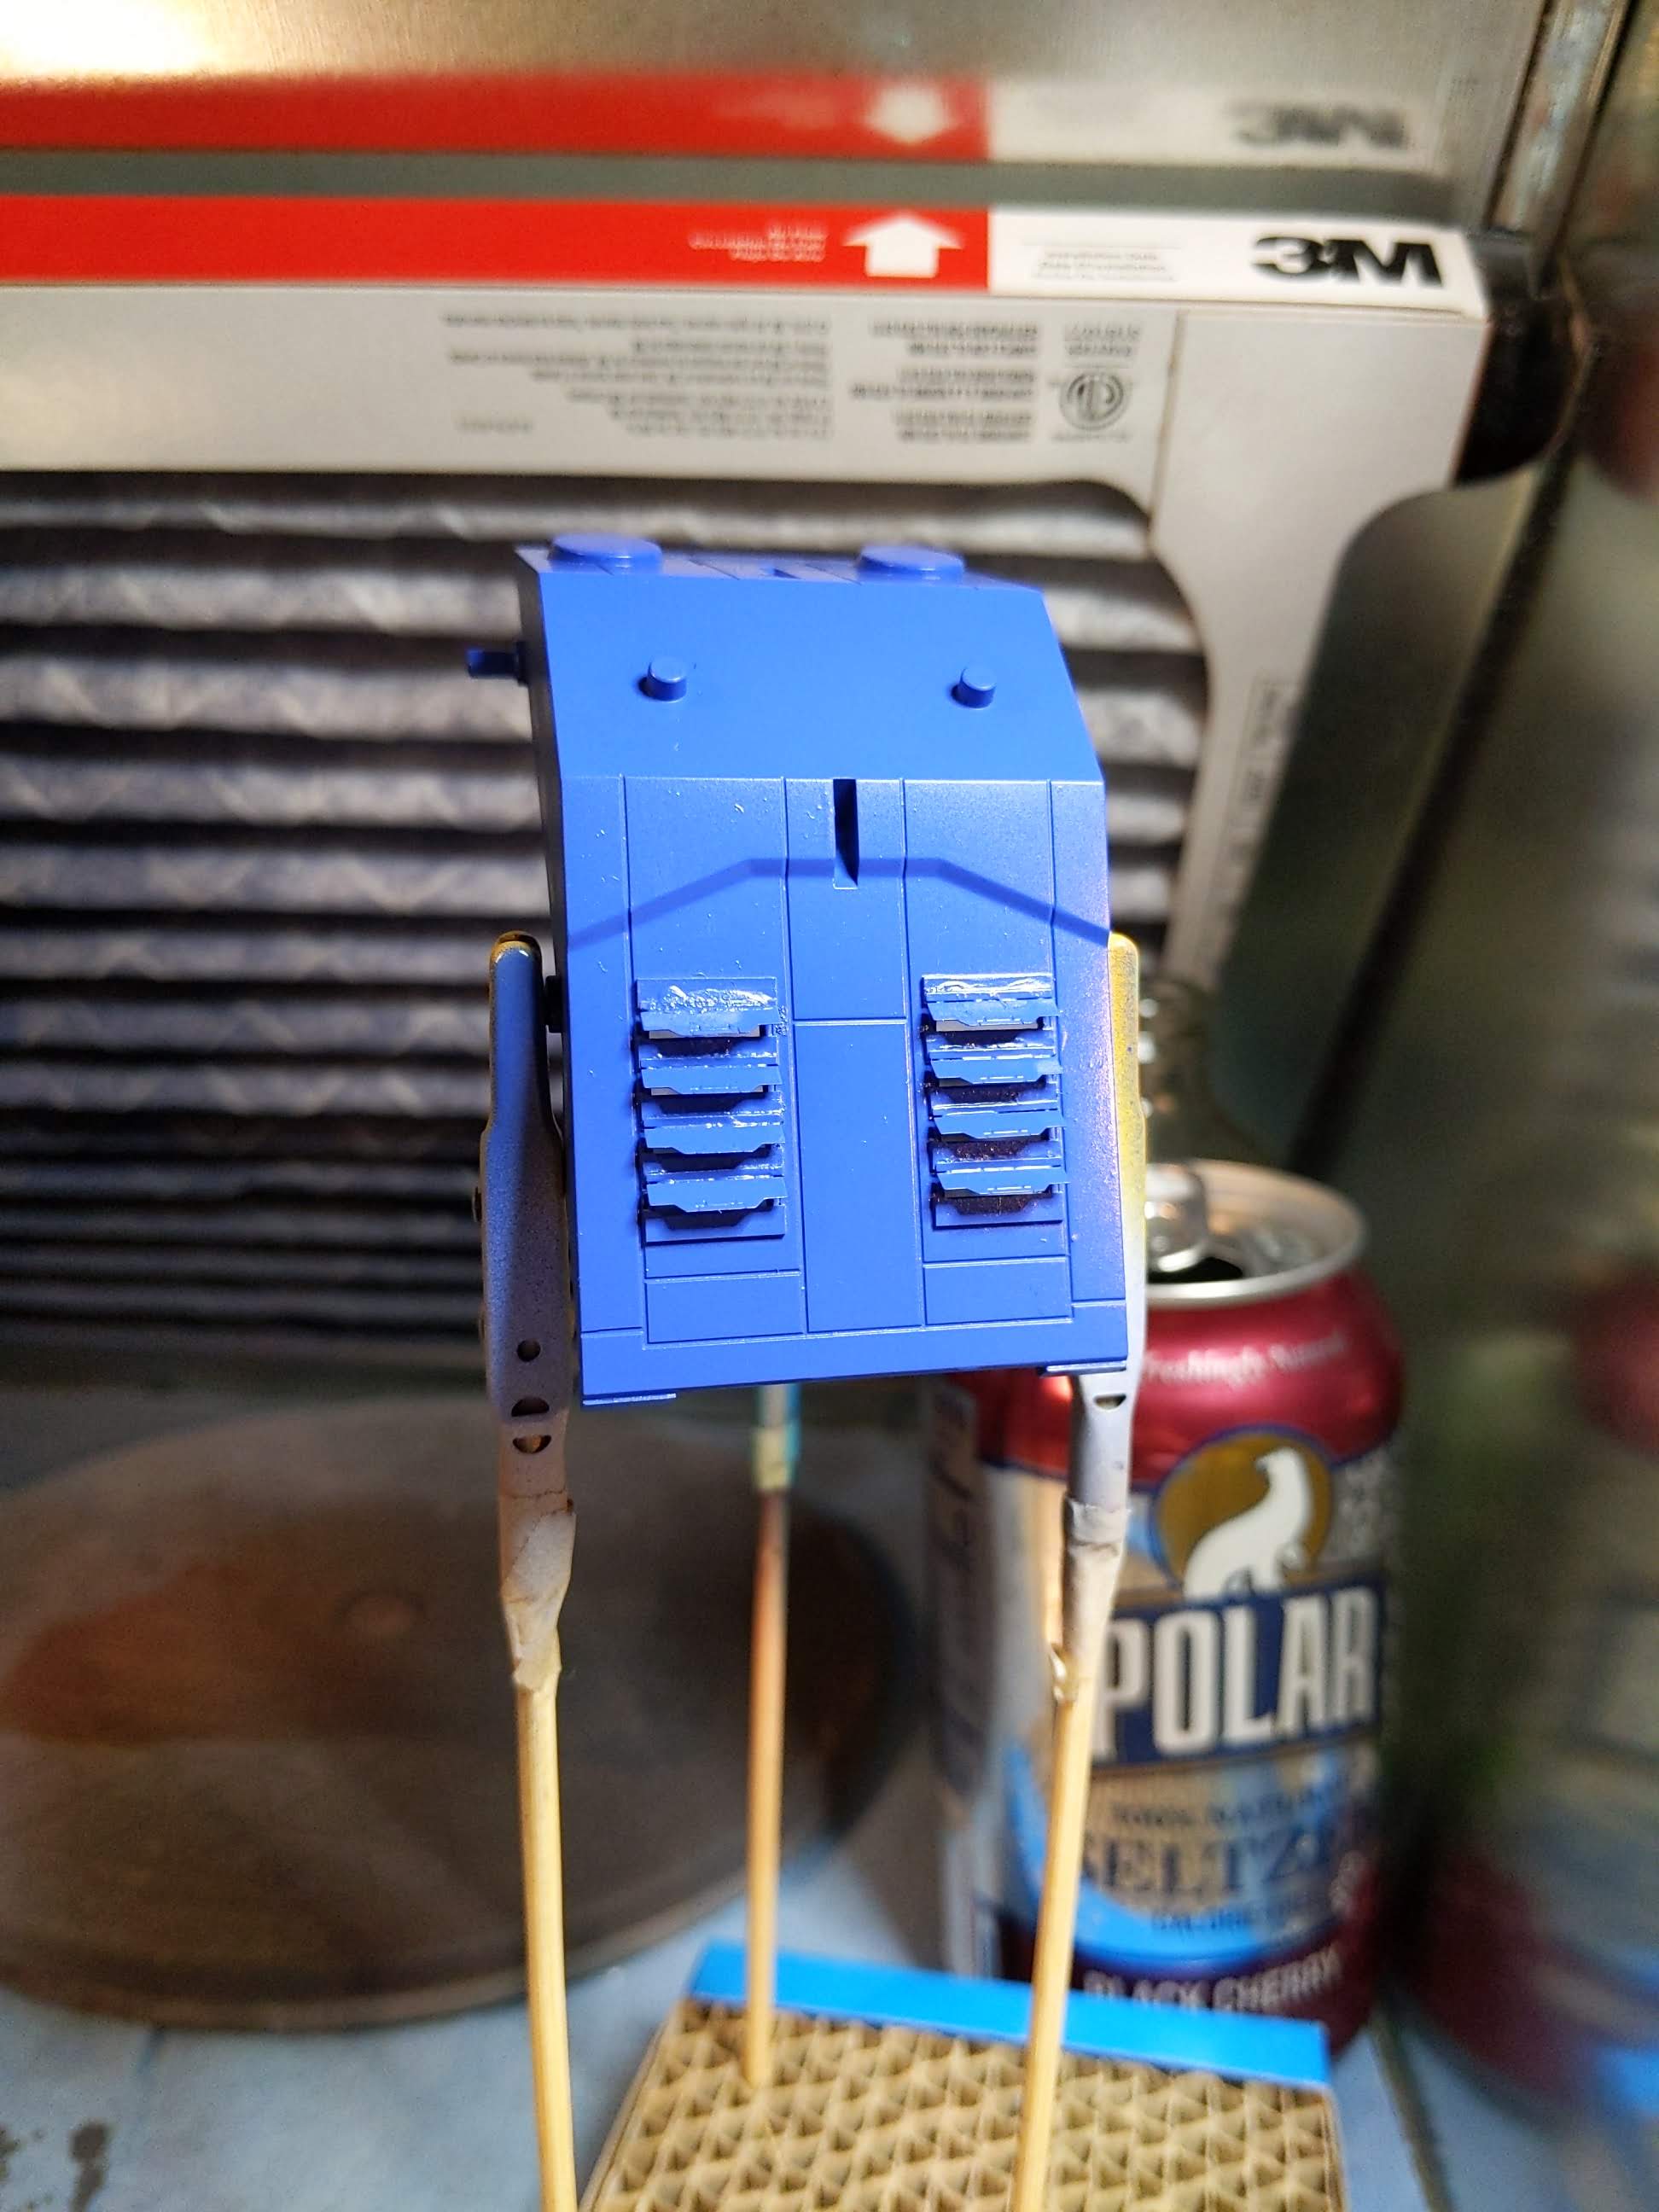
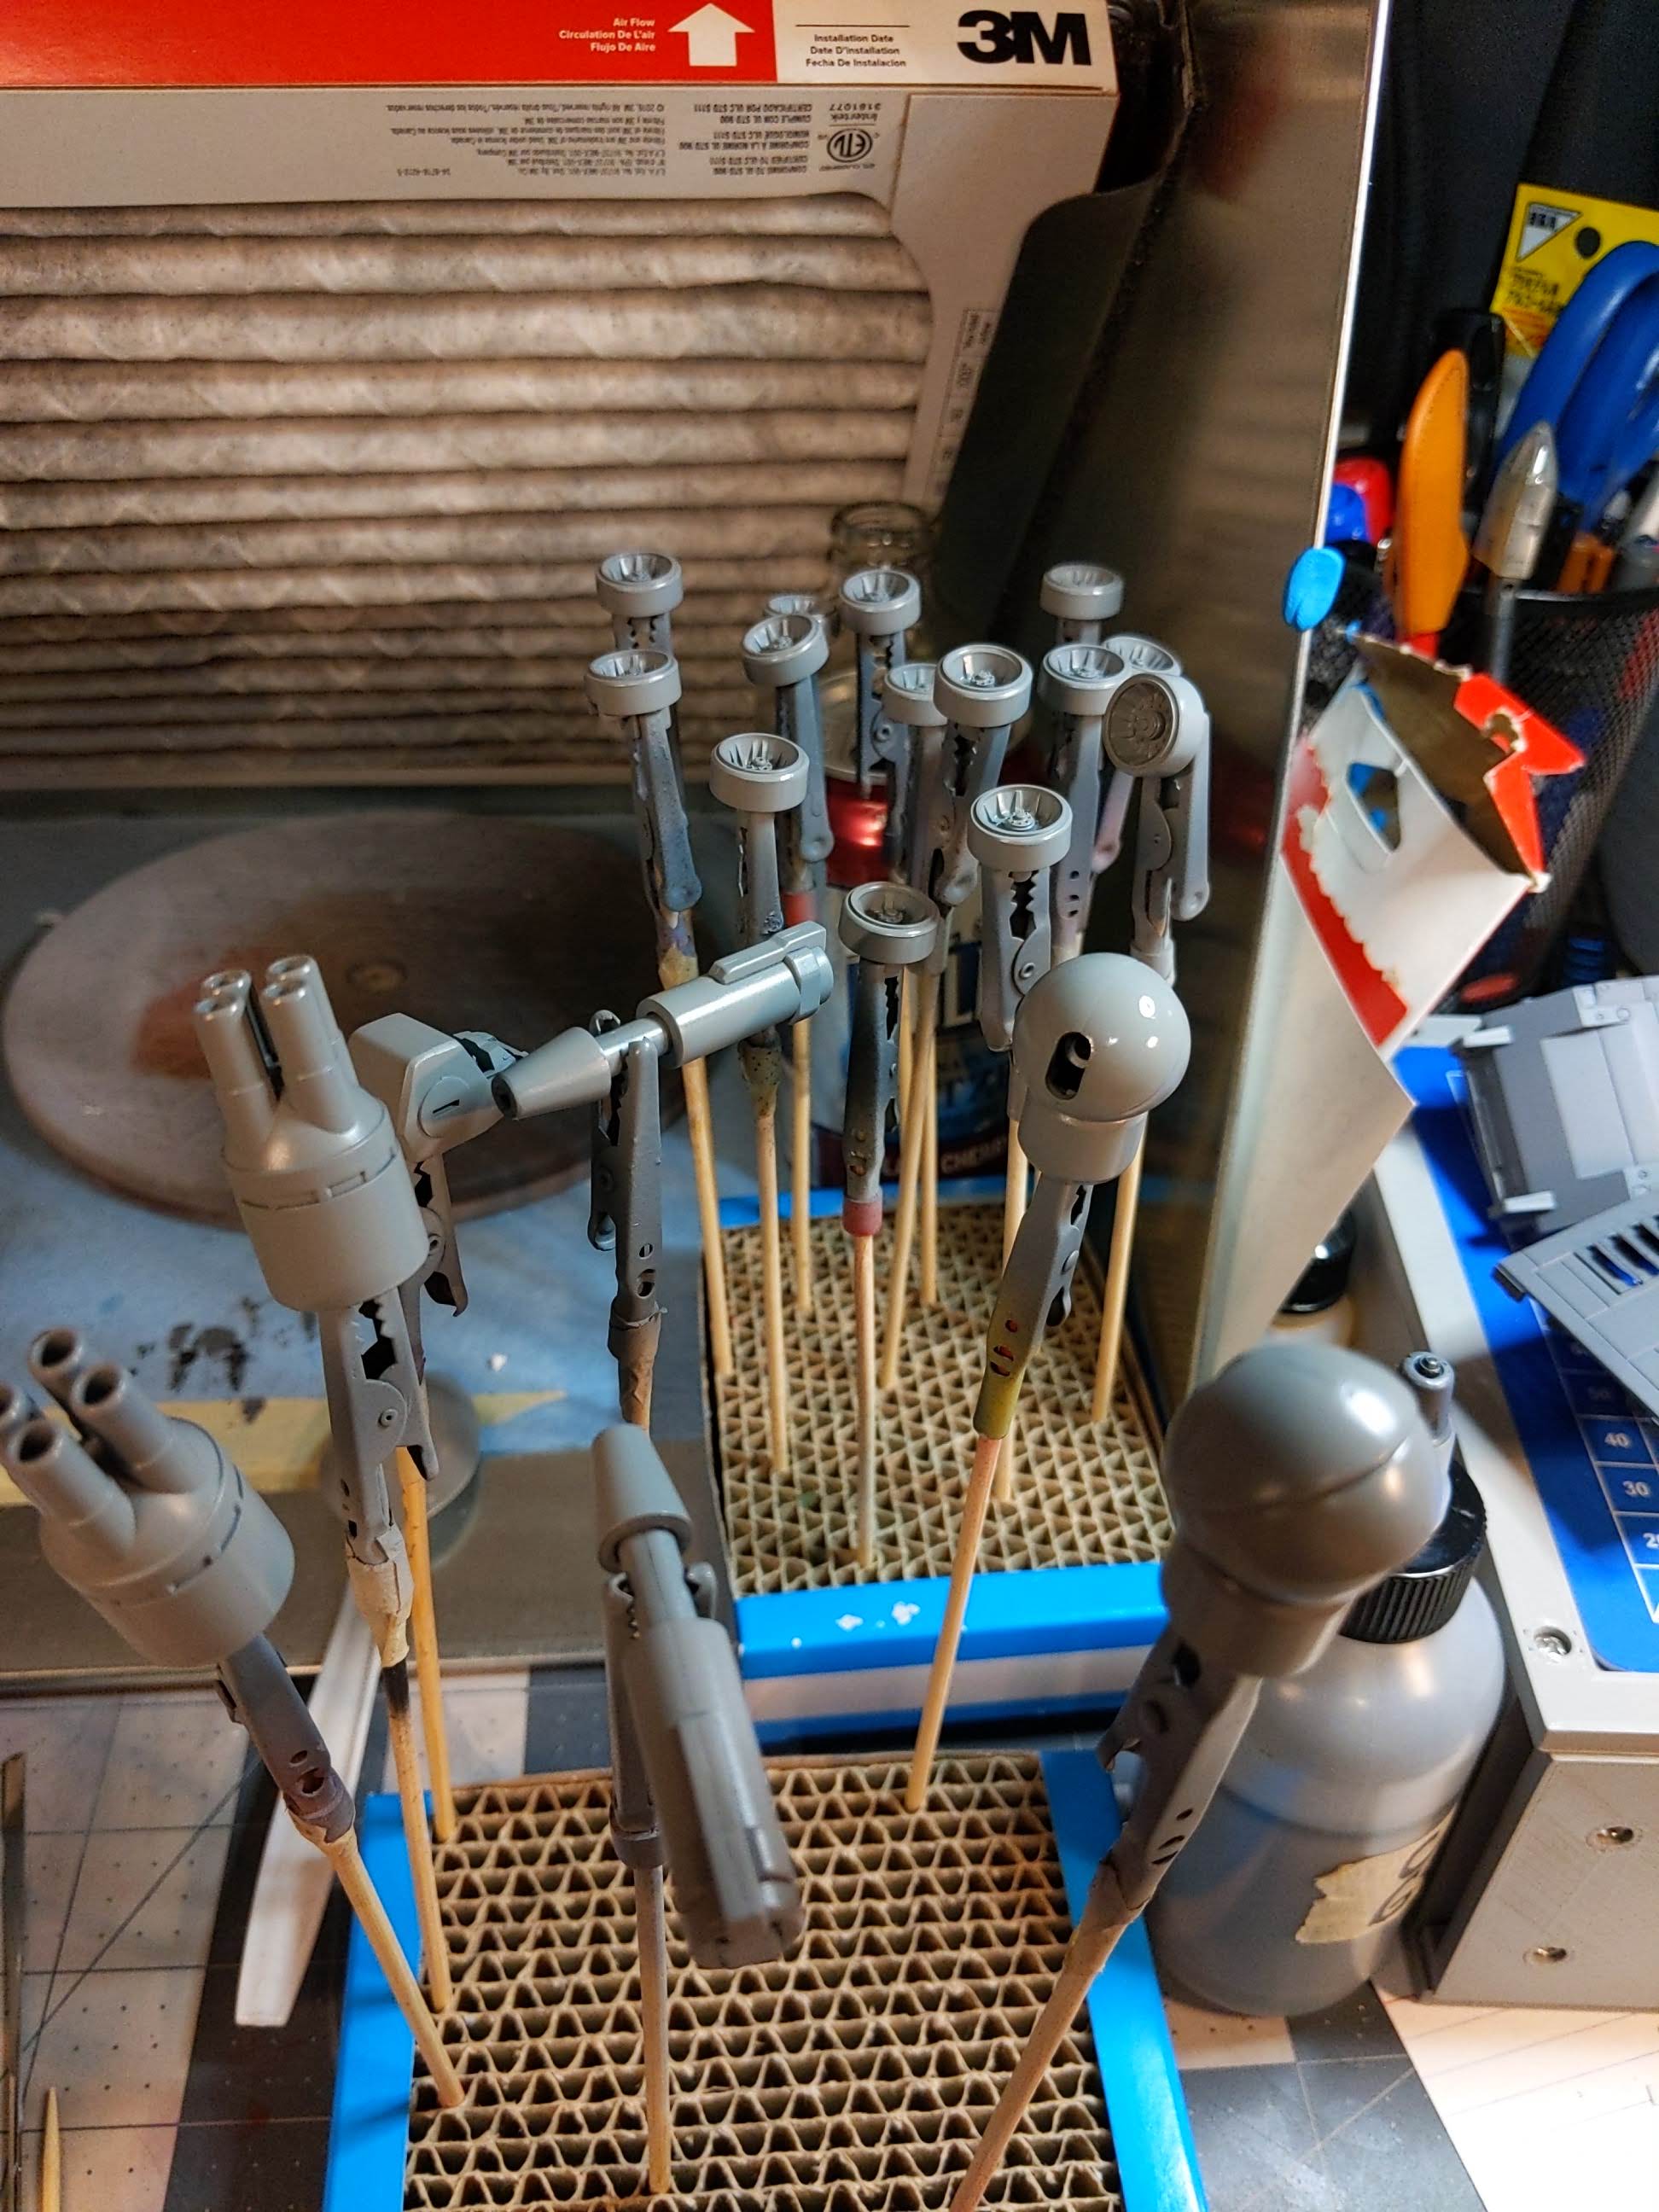
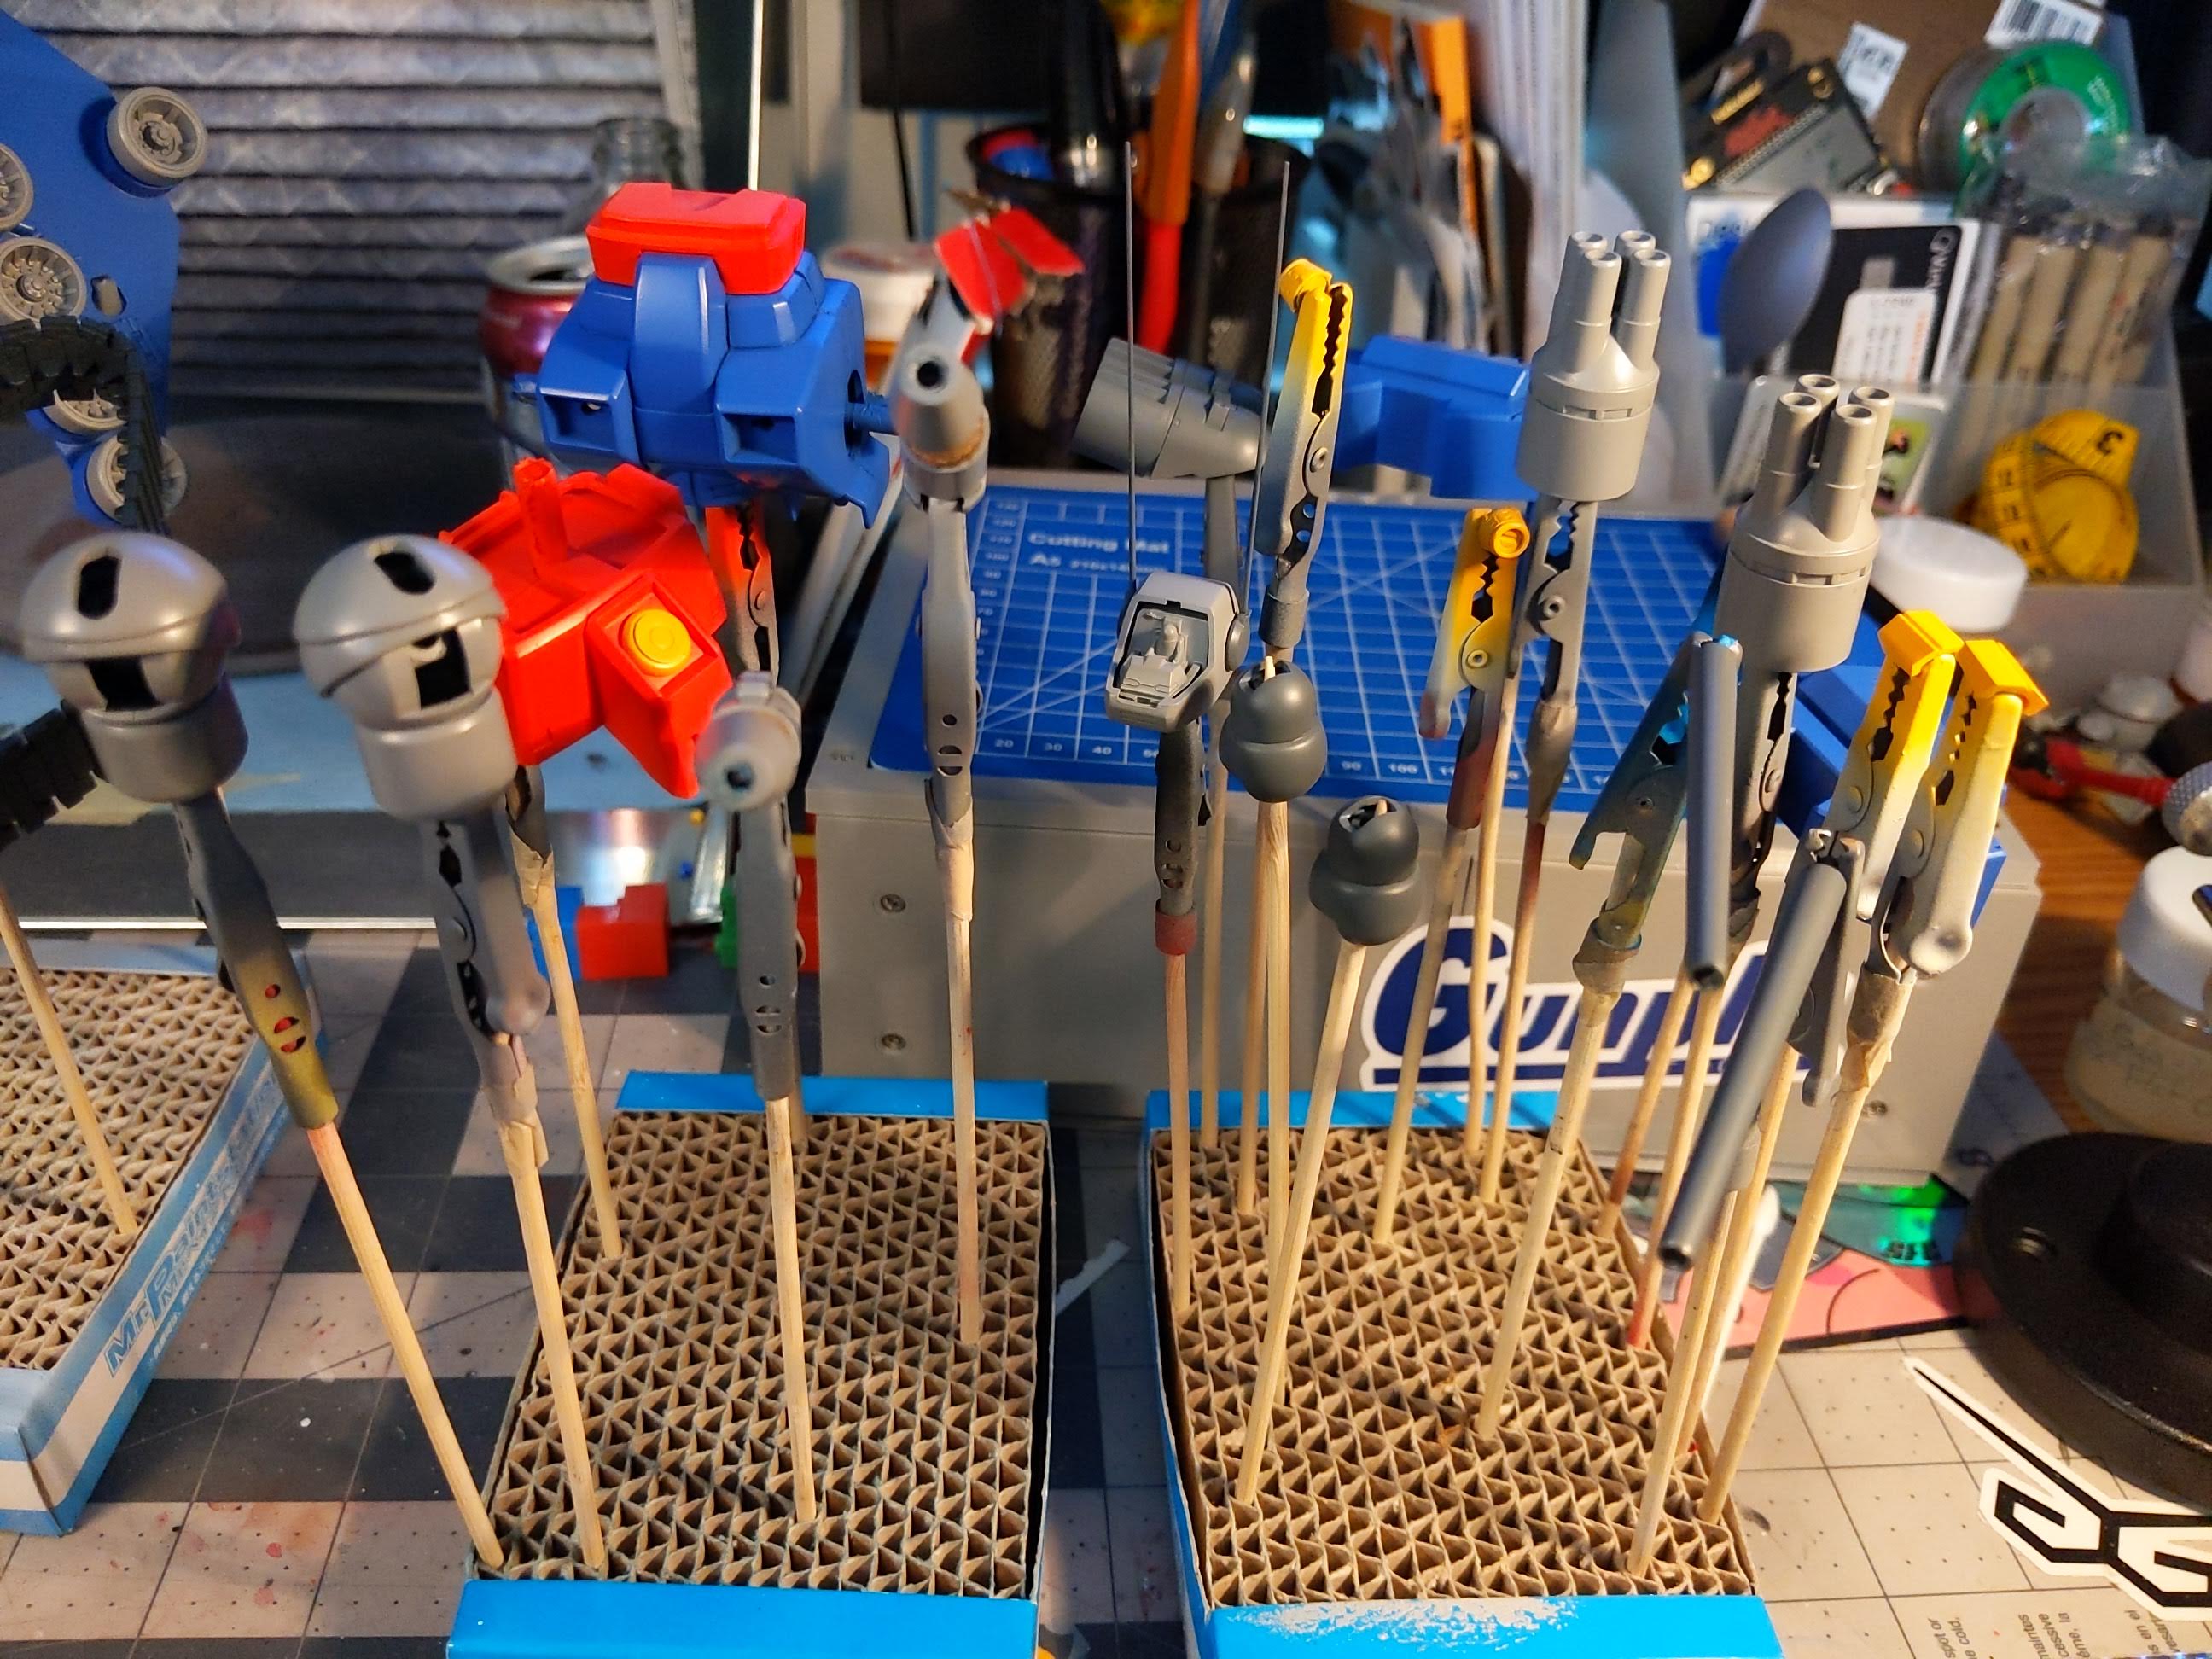
The color scheme used was initially inspired by the RX-75 Guntank Mass Production Type, but like all projects the plan had been iterated upon. I tried to provide a bit more depth by using the separate parts to allow for ease in variation of colors and make it appear more natural. Some examples of this were making the aerials, gun barrels, and elbow joint a darker gray than used for the rest of the respective component.
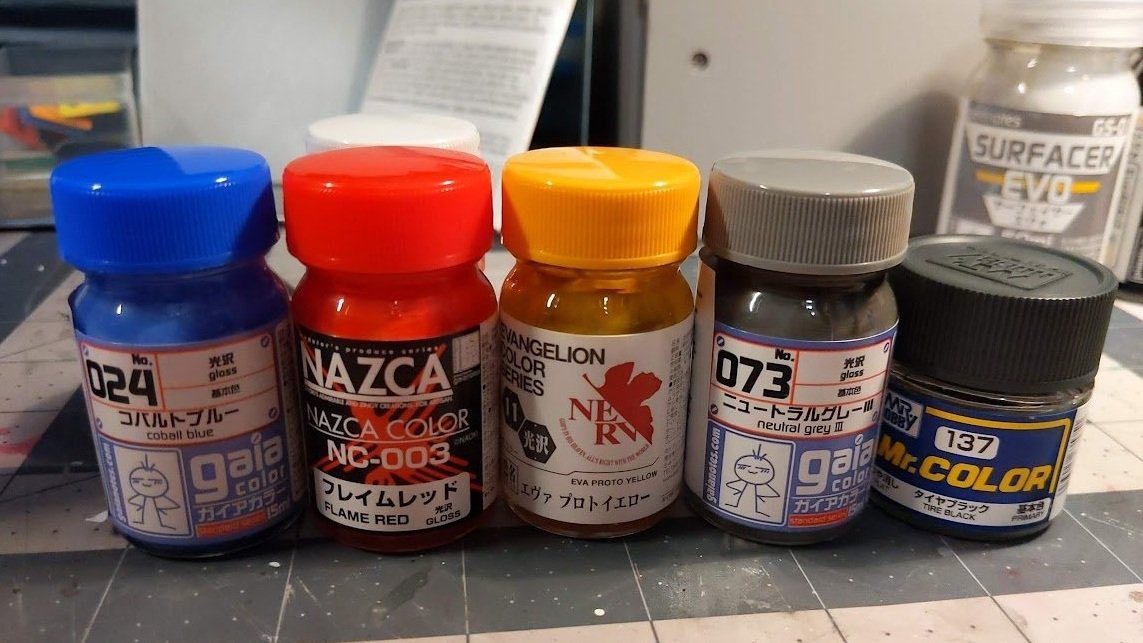
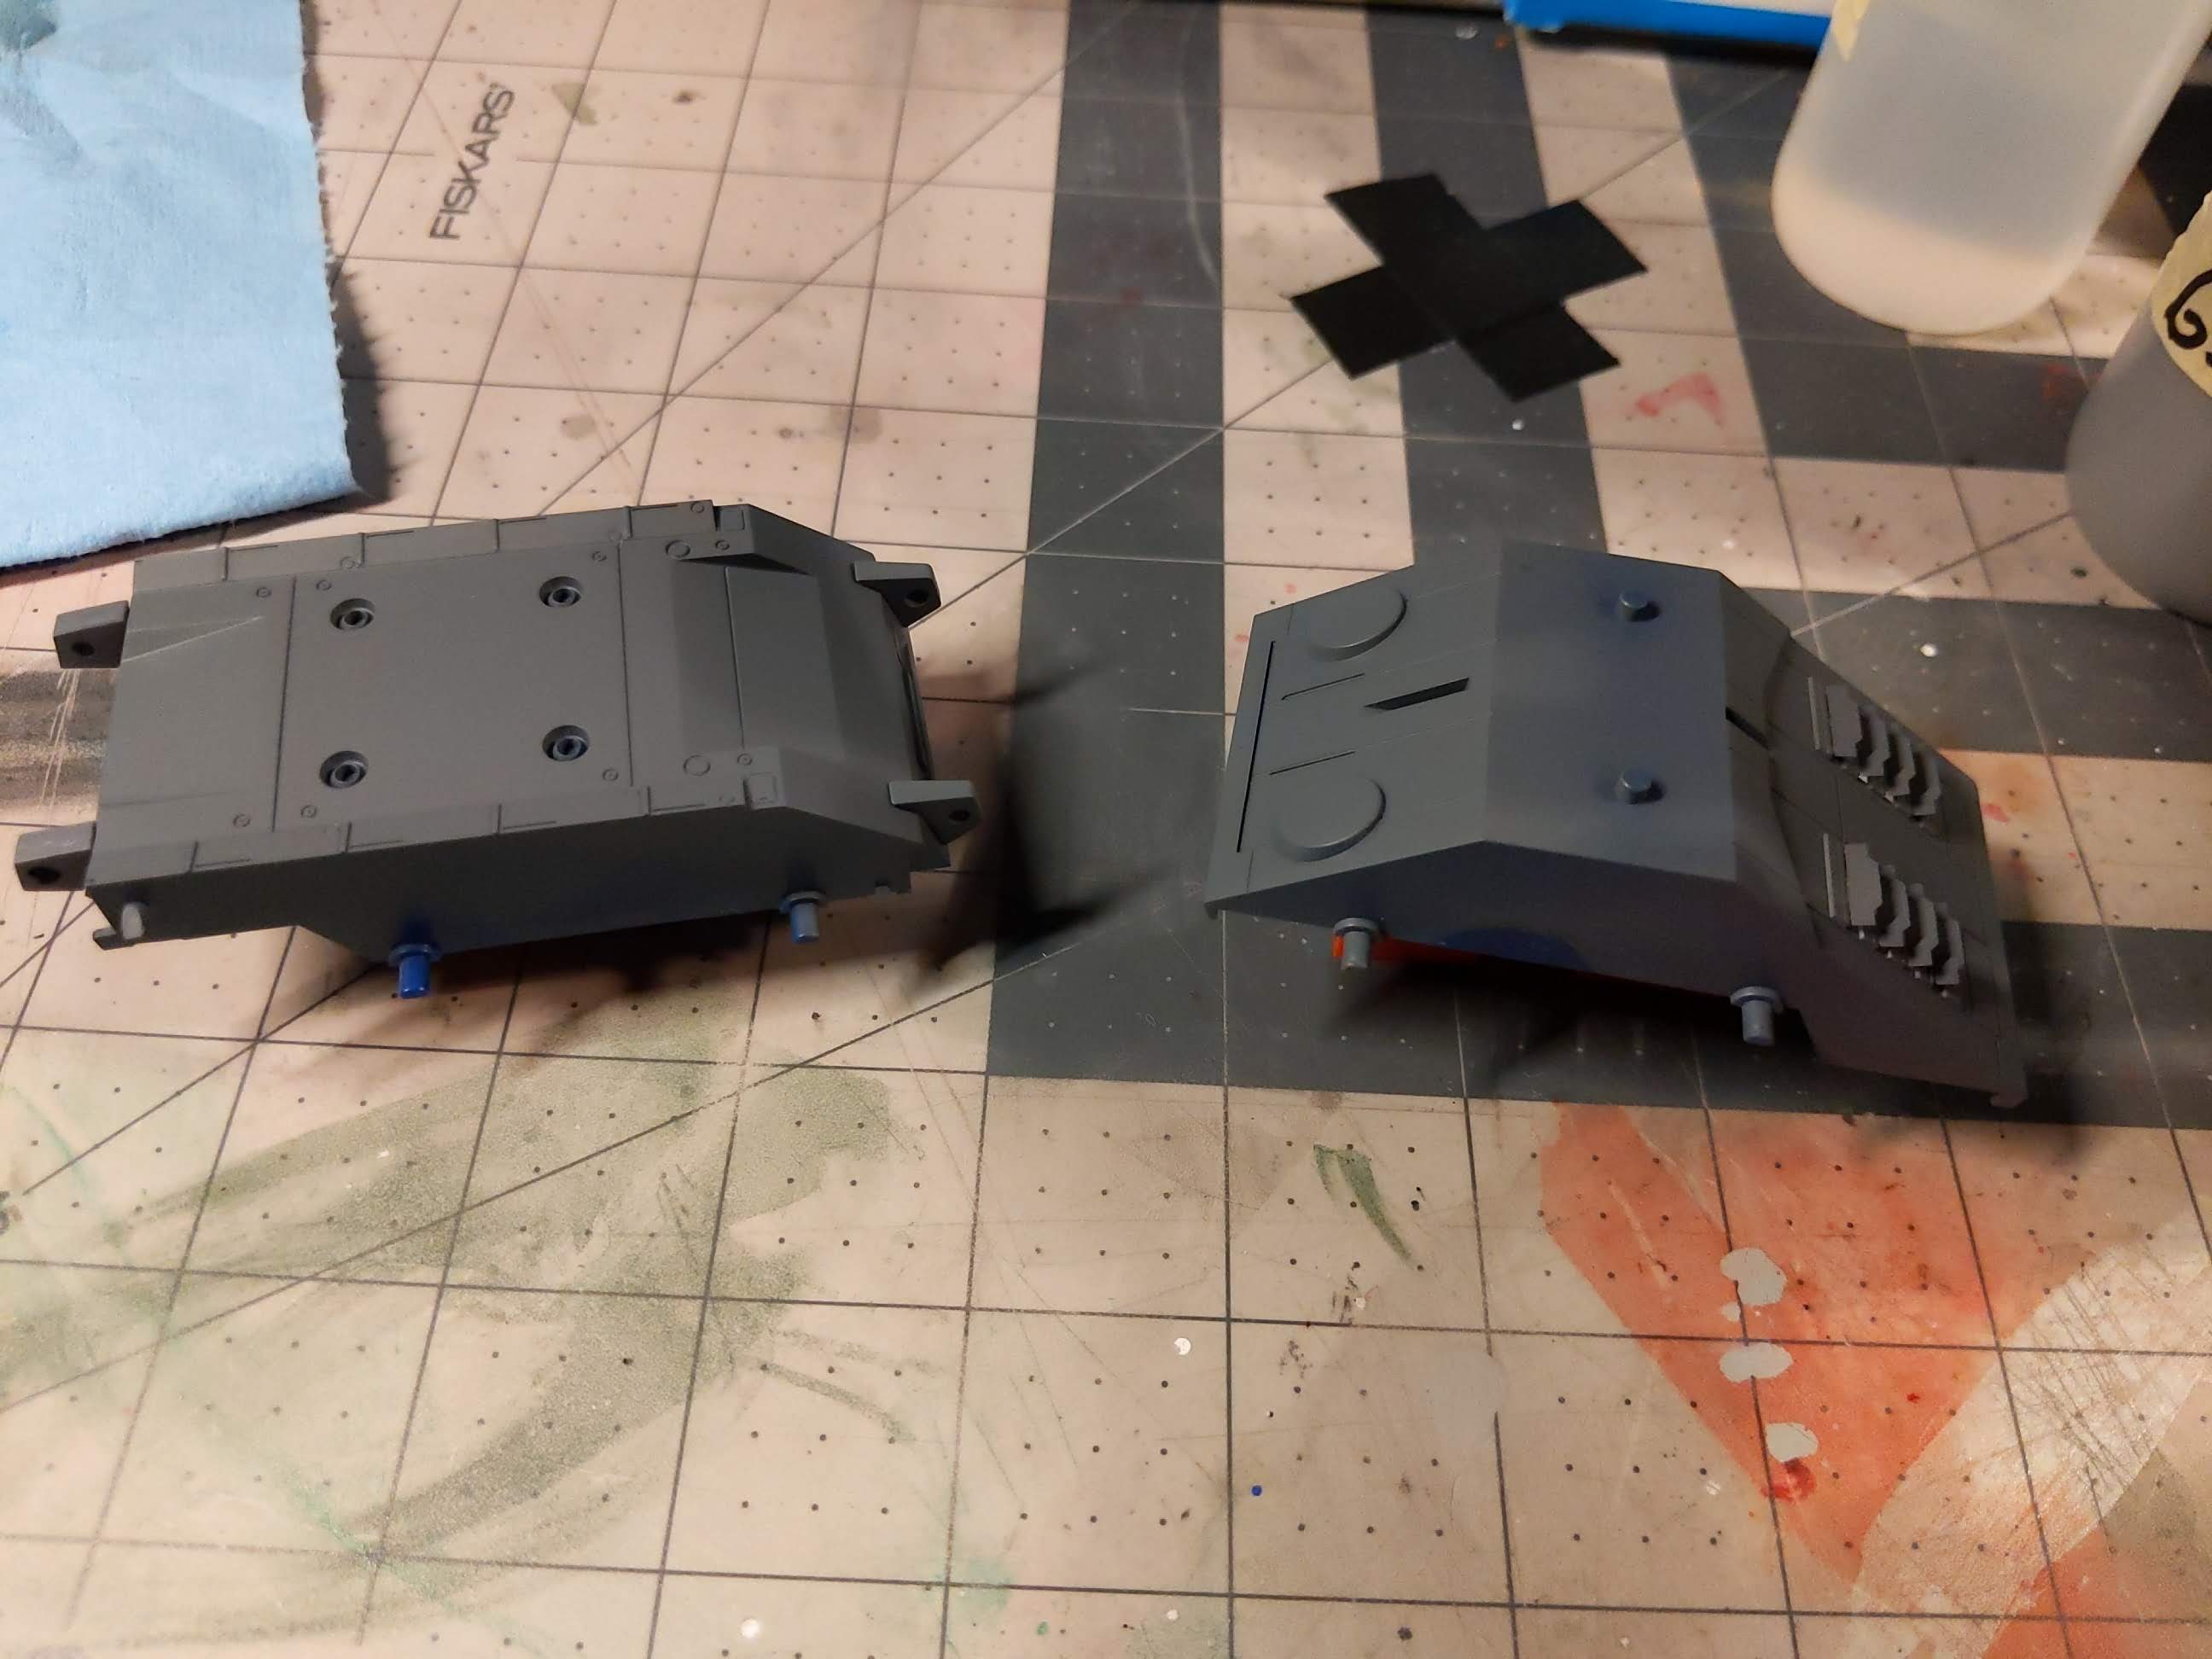
The most important thing next to building was surface preparation to handle the different colors, the surfacer layer can have a big impact on what colors go on top. Depending on the shade used, it can show through or require more layers over it. I’ve messed up here by using a dark gray primer layer on white body parts, ultimately causing the need to strip everything back and redo it as the white would never fully cover it how I needed it to.
Since I was using dark colors & grays for the most part, my custom surfacer mix worked fine for the blues and grays of the build. But as a precautionary measure I used a white surfacer on the yellow and red parts to make sure I didn’t have any odd spots where the colors were too light to cover a gray base.
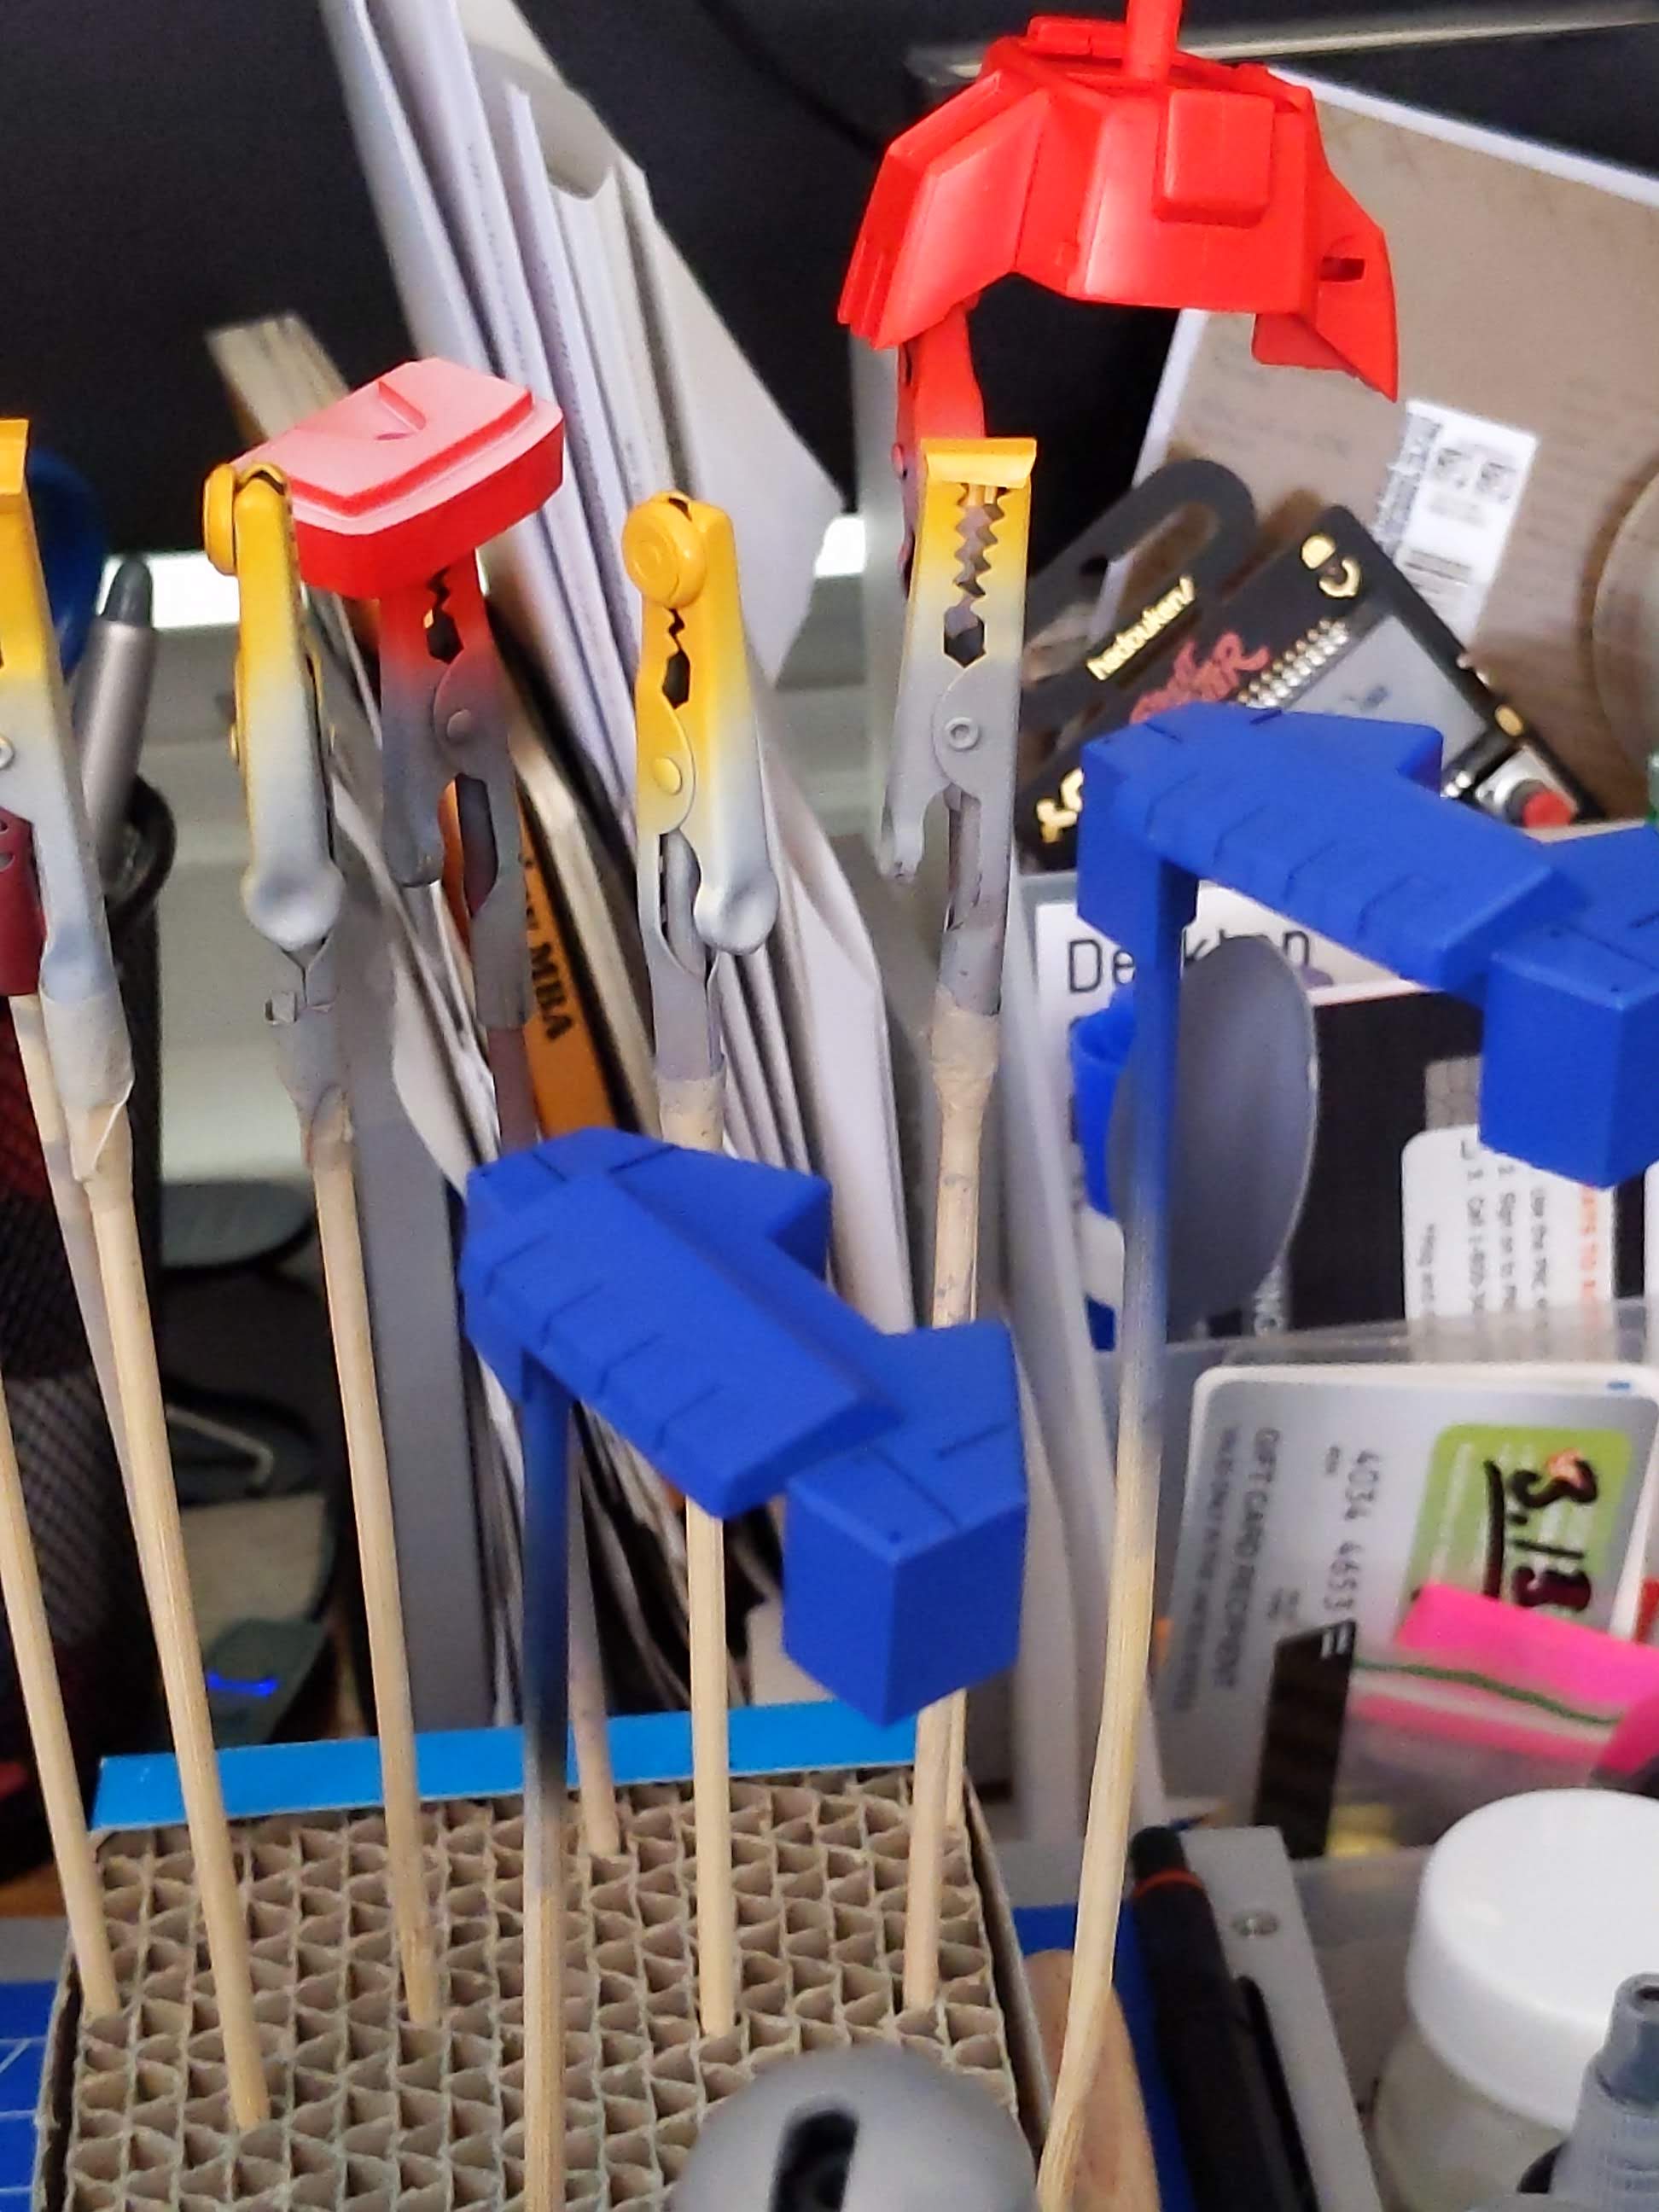
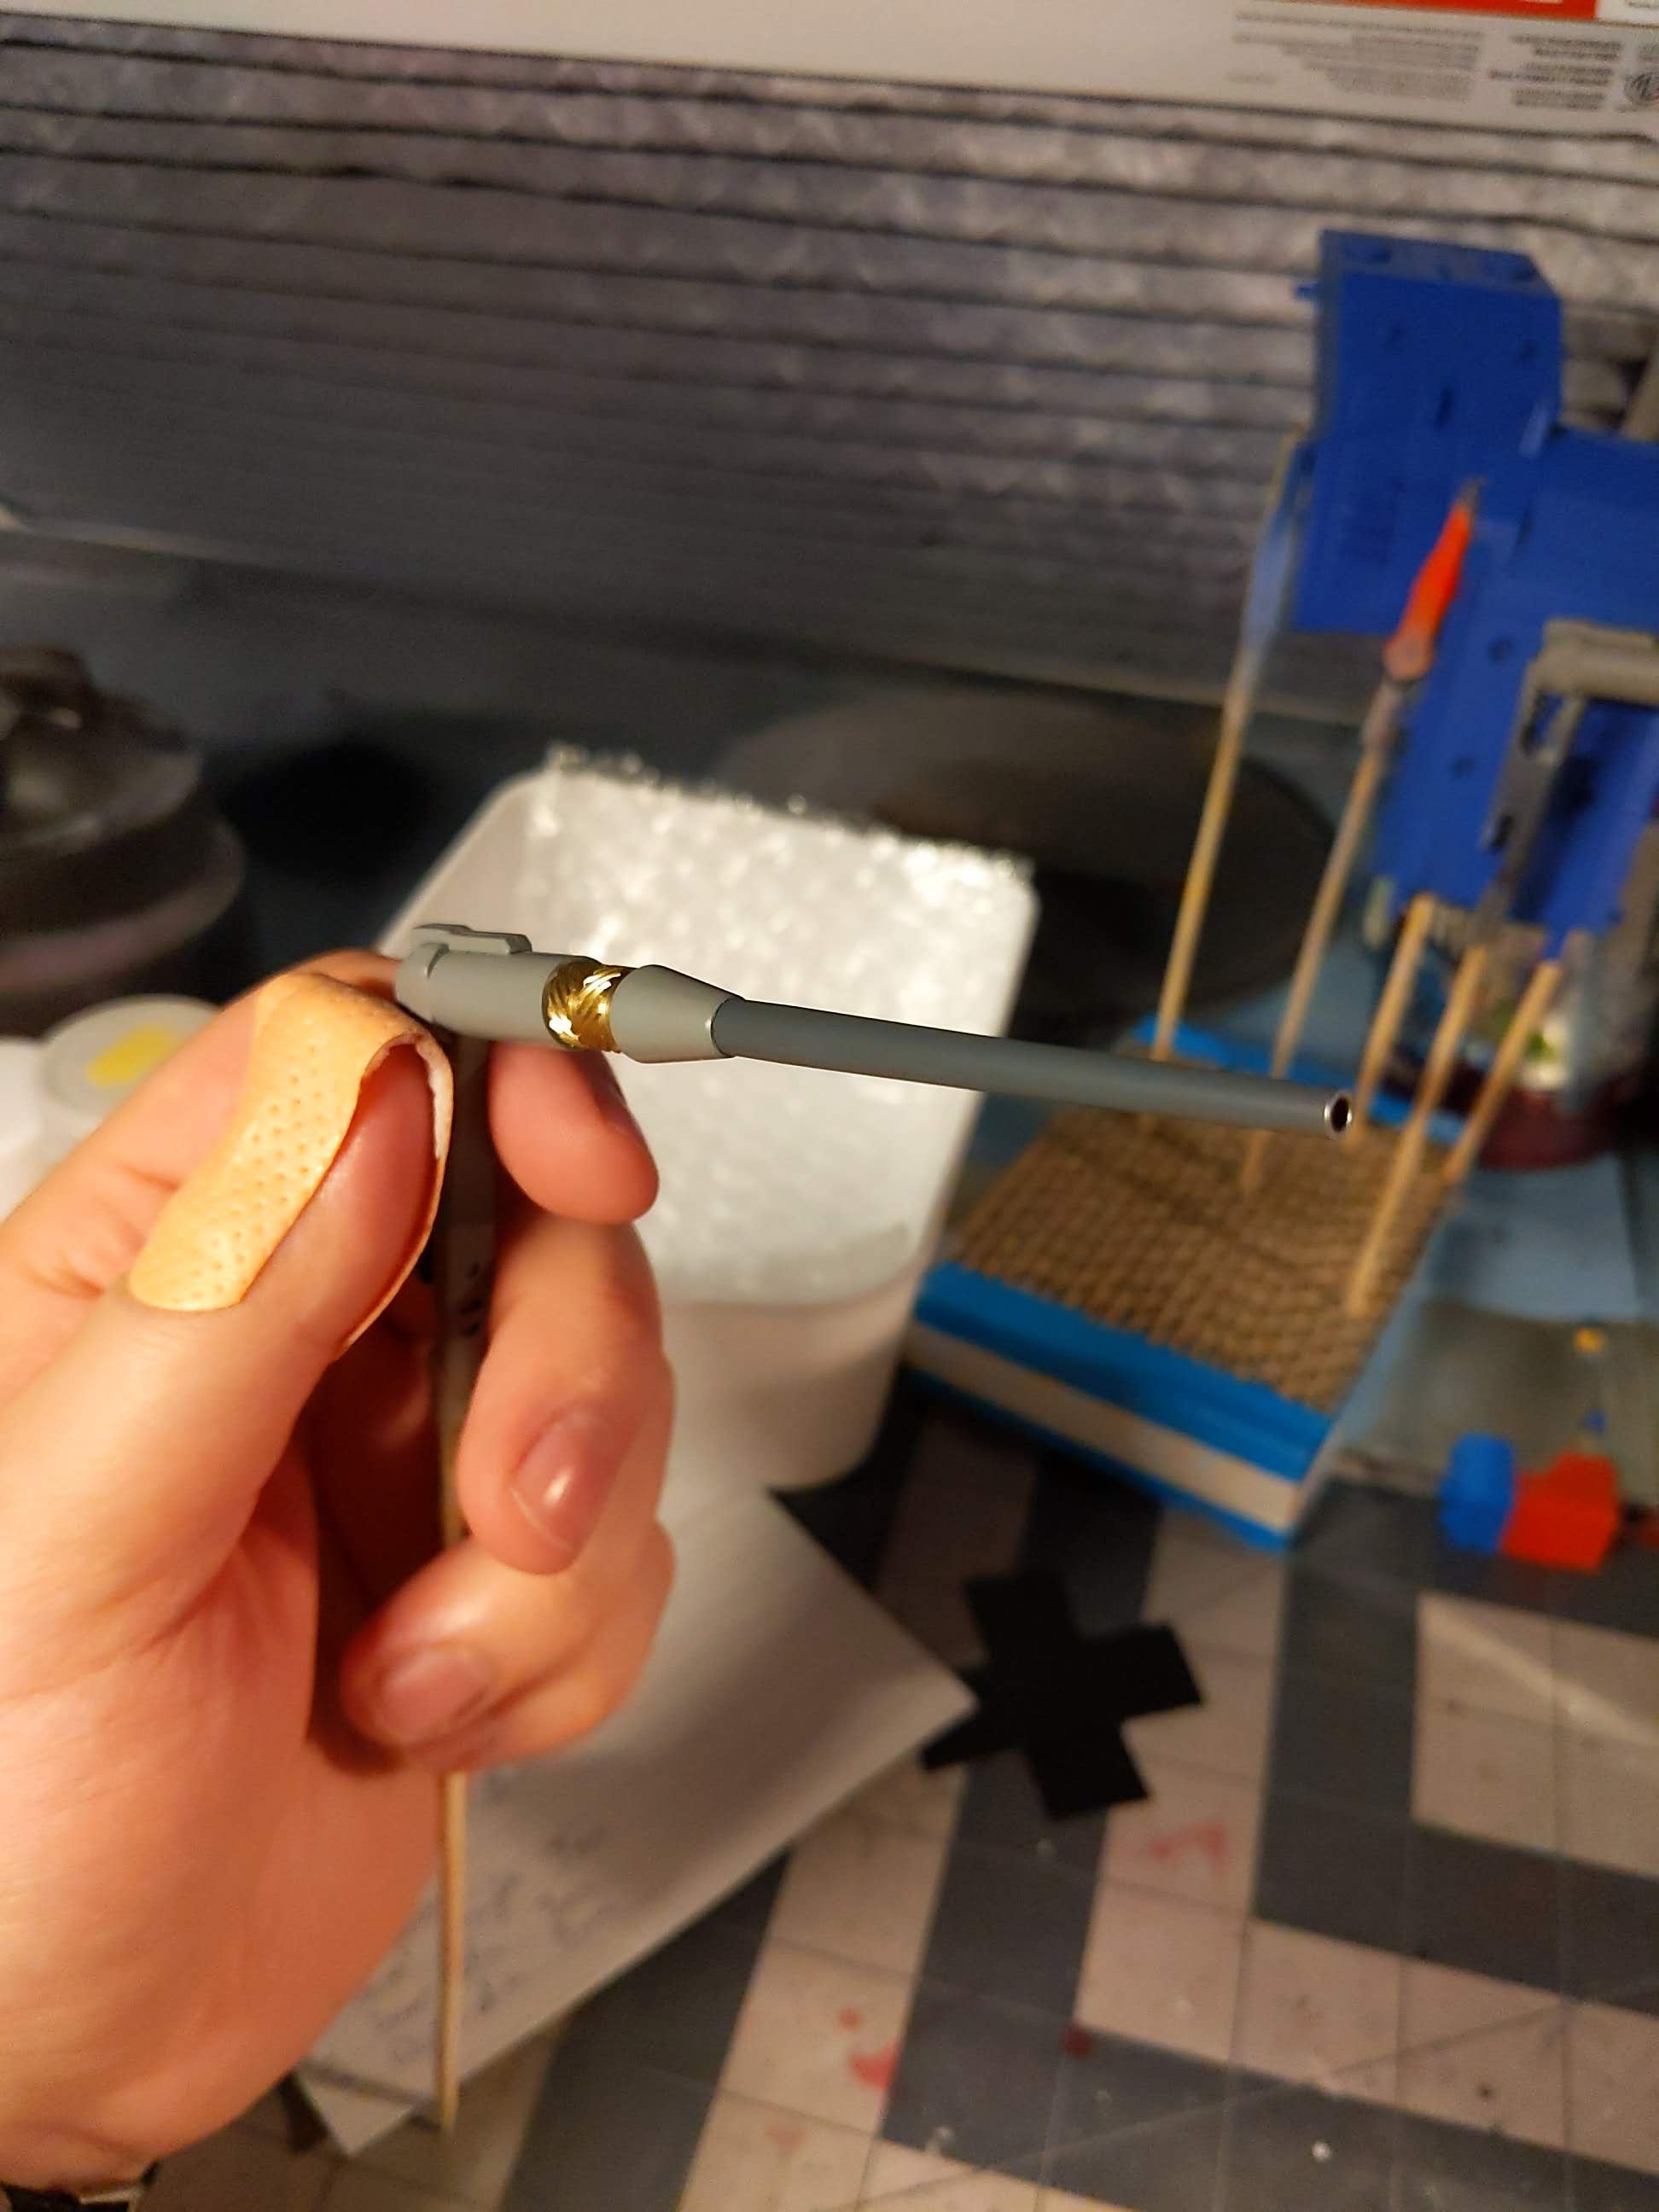
Additional preparation needed was for the gun barrels, aerials, and photo etch I had applied throughout the build. You can paint over top of metal, and it may stick - but it won’t stick right and can rub off easily. This is where a metal primer comes in, it allows you to give grip to the metal surface where normally paint would flake off after curing. For what I thought would be a neat effect, I masked off the ends of the gun barrels so that way they still have the silver tip after paint is applied.
Next Steps
At this phase of the project, we’re down to the final steps. First will be cleaning up any joining areas that may have had a layer of paint applied that could introduce unwanted friction. Second will be putting together safe subassemblies, by which I mean anything that won’t run the risk of needing broken back down in order to detail. And then a gloss coat to allow a bit of protection for panel lining & making the paint flow easier into the recesses, followed by an application of decals.

Once everything has been applied and set, we will be onto more subassembly and a flat coat before the final build.
Thank you for reading, and stick around for the next part!